Installing Unity and the IDE
UCT is an Undertale fan game template developed based on Unity International Version 2021.3.15f1.
Or, to put it simply: UCT is a Unity project, so of course, we need to install Unity first to use it.
To develop a Unity project, you need to install Unity Hub and Unity Editor, and choose a suitable IDE (code editor) as your development tool.
This chapter will guide you step-by-step through the installation of these tools.
Table of Contents
Tutorial Overview
This section will cover:
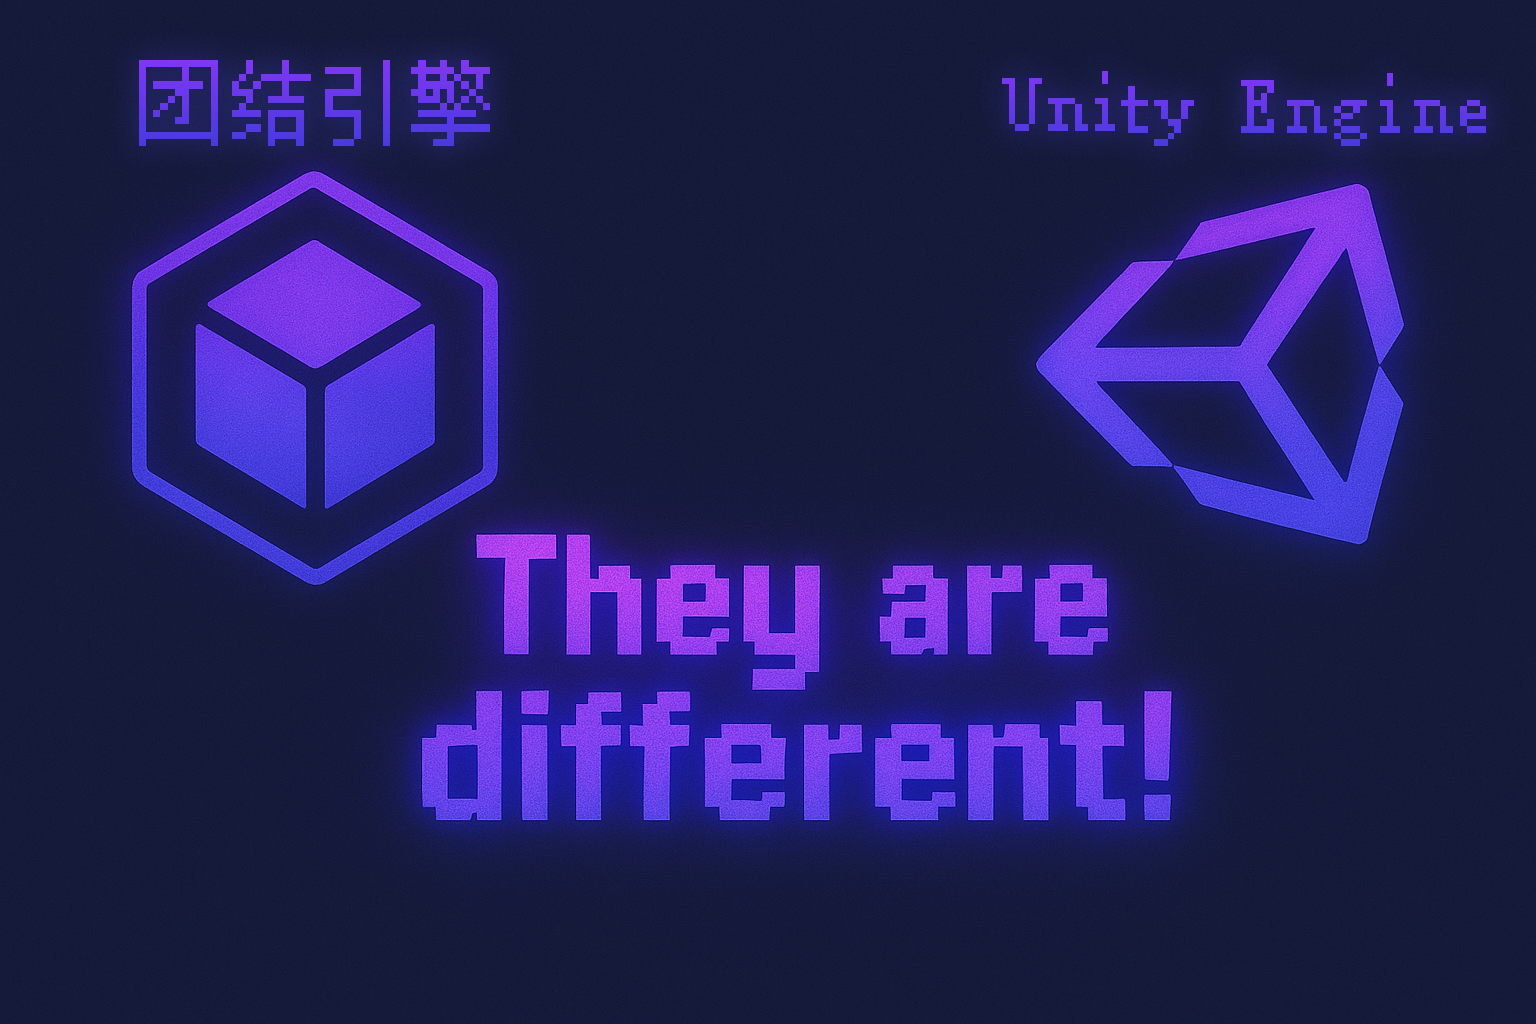
- The differences between Unity China Edition and Unity International Edition
- The distinctions among Unity Hub, Unity Editor, and Unity Engine
- How to obtain the International Version Unity Hub installer
- Introduction to the installation and configuration of commonly used IDEs, with a recommendation to use Rider.
- How to import project-related settings to standardize the development environment
Ready? Let’s get started.
Differences in Unity Versions
⚠️ Heads up!
The content here is especially important for users in Mainland China and Hong Kong, Macau, and Taiwan regions.
If you are an overseas user, you can skip this part and proceed directly to the Preparing to Install Unity section.
So, does Unity really have separate China and International editions?
The answer is yes—Unity is divided into the China Edition and the International Edition, which differ in services and feature support. Mixing them may lead to compatibility issues.
⚠️ Warning!
UCT only supports Unity International Version 2021.3.15f1. Make sure to use this version.
How to Check if You’ve Installed the China Edition of Unity?
For Unity Editor:
- Check your Unity Editor version number: If the version number includes suffixes like "c1" or "c2", you likely have the China Edition of Unity Editor installed.
For Unity Hub:
- If Unity Hub only allows you to install versions with suffixes like "c1" or "c2", you’re using the China Edition of Unity Hub.
You might think you’re sharp-eyed or resourceful enough to find the International Edition website directly, but—
⛔ Plot twist (jk
Under Mainland China’s network environment, accessing the Unity website directly may default to the China Edition page.
Even if you visit the International Edition website, the Unity Hub and Unity Editor you download might still be the China Edition under Mainland China/Hong Kong/Macau/Taiwan network conditions.
So, how do you install the International Edition of Unity?
Since I’m not well-versed in network configuration, the advice here is for reference only:
- Ensure you’re connected to the global internet or using a VPN throughout the process. In the next section of the tutorial, make sure to visit the Unity International Edition website (unity.com) (not unity.cn) and download resources without "c1", "c2", or similar suffixes.
If you’re unable to download International Edition resources, consider joining the Official UCT QQ Group and obtaining the International Edition Unity Hub installer from the group files to ensure version consistency.
❔ Still have questions?
You can refer to this blog post (removed if infringing).
Alternatively, you can politely ask in UCT’s QQ Group or Discord Server.
Preparing to Install Unity
In this section, we’ll install Unity!
Open your browser and go to unity.com! (Make sure it’s not unity.cn!)
You’ll see a homepage like this:
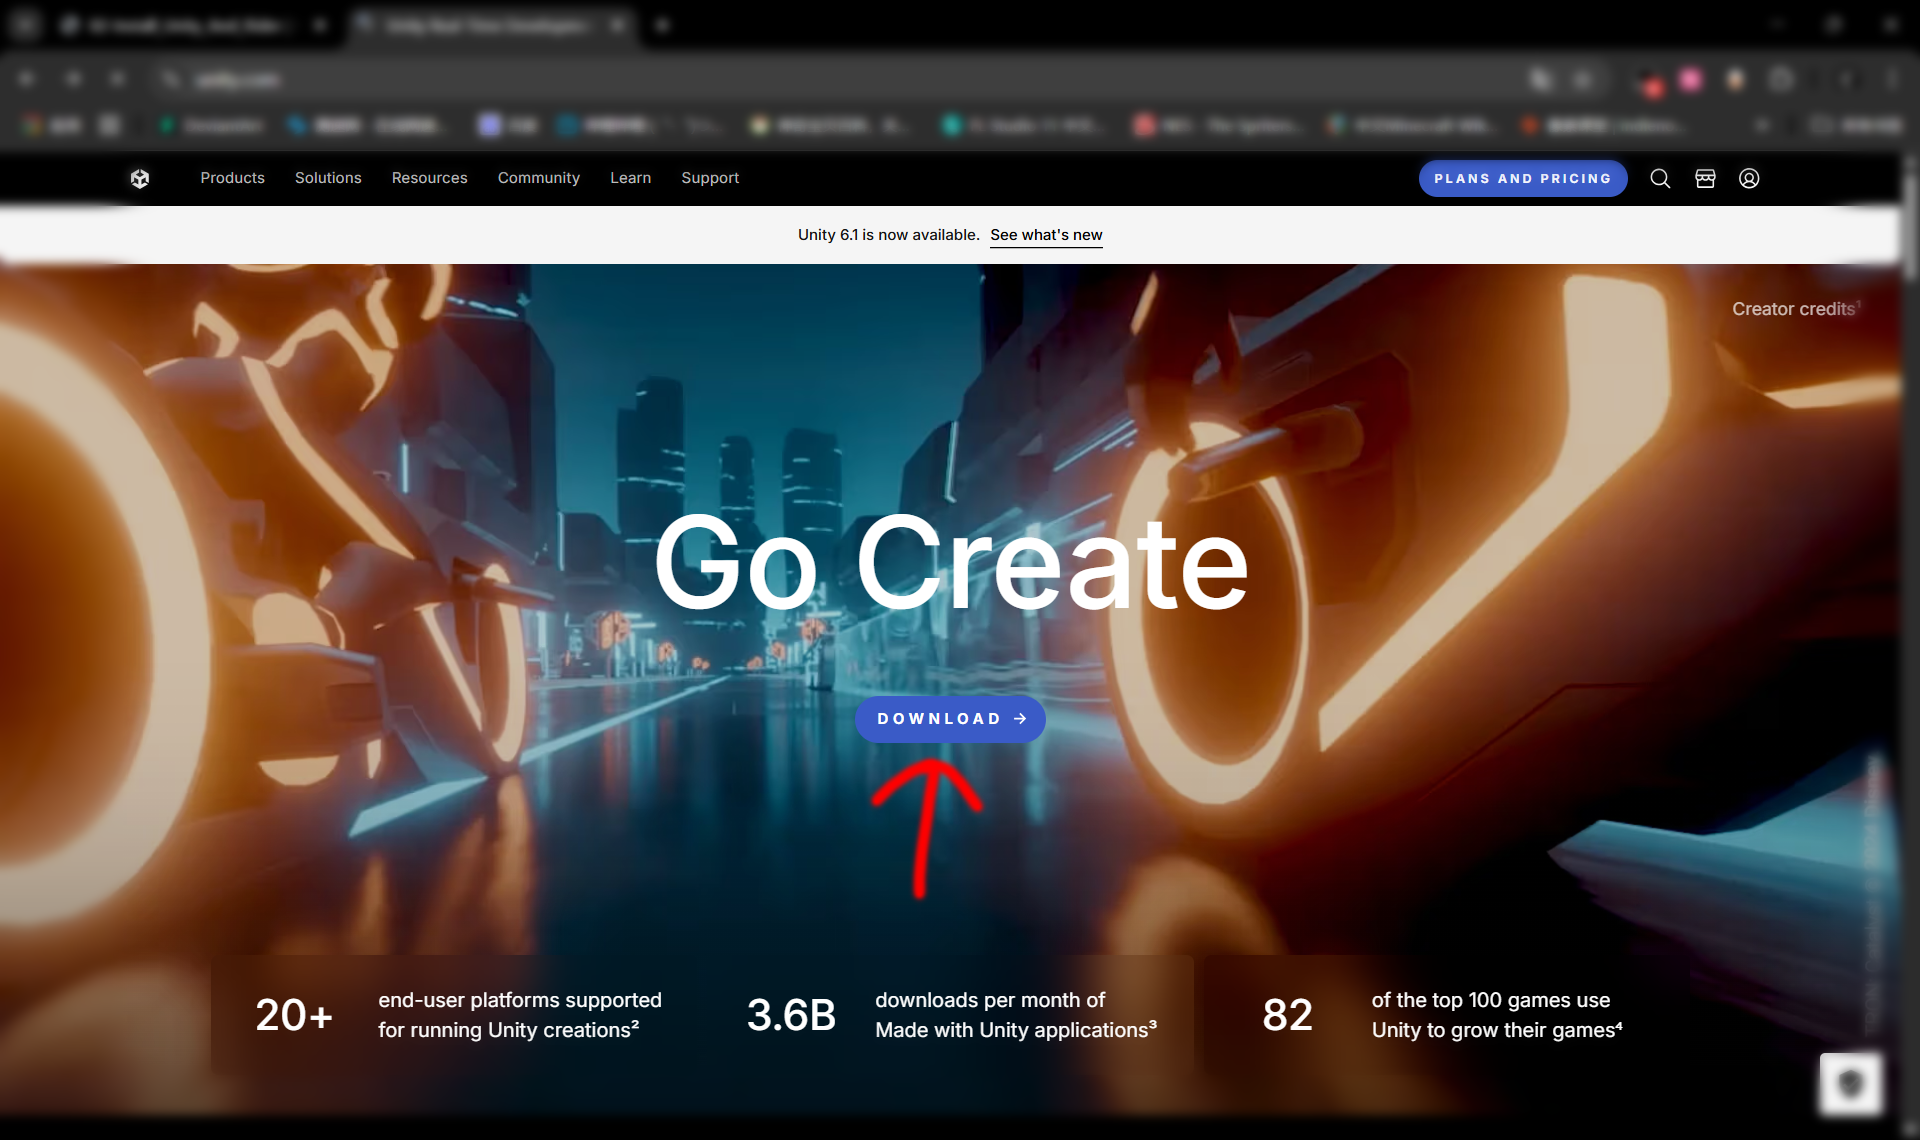
Just click Download—then, you’ll land on this page:
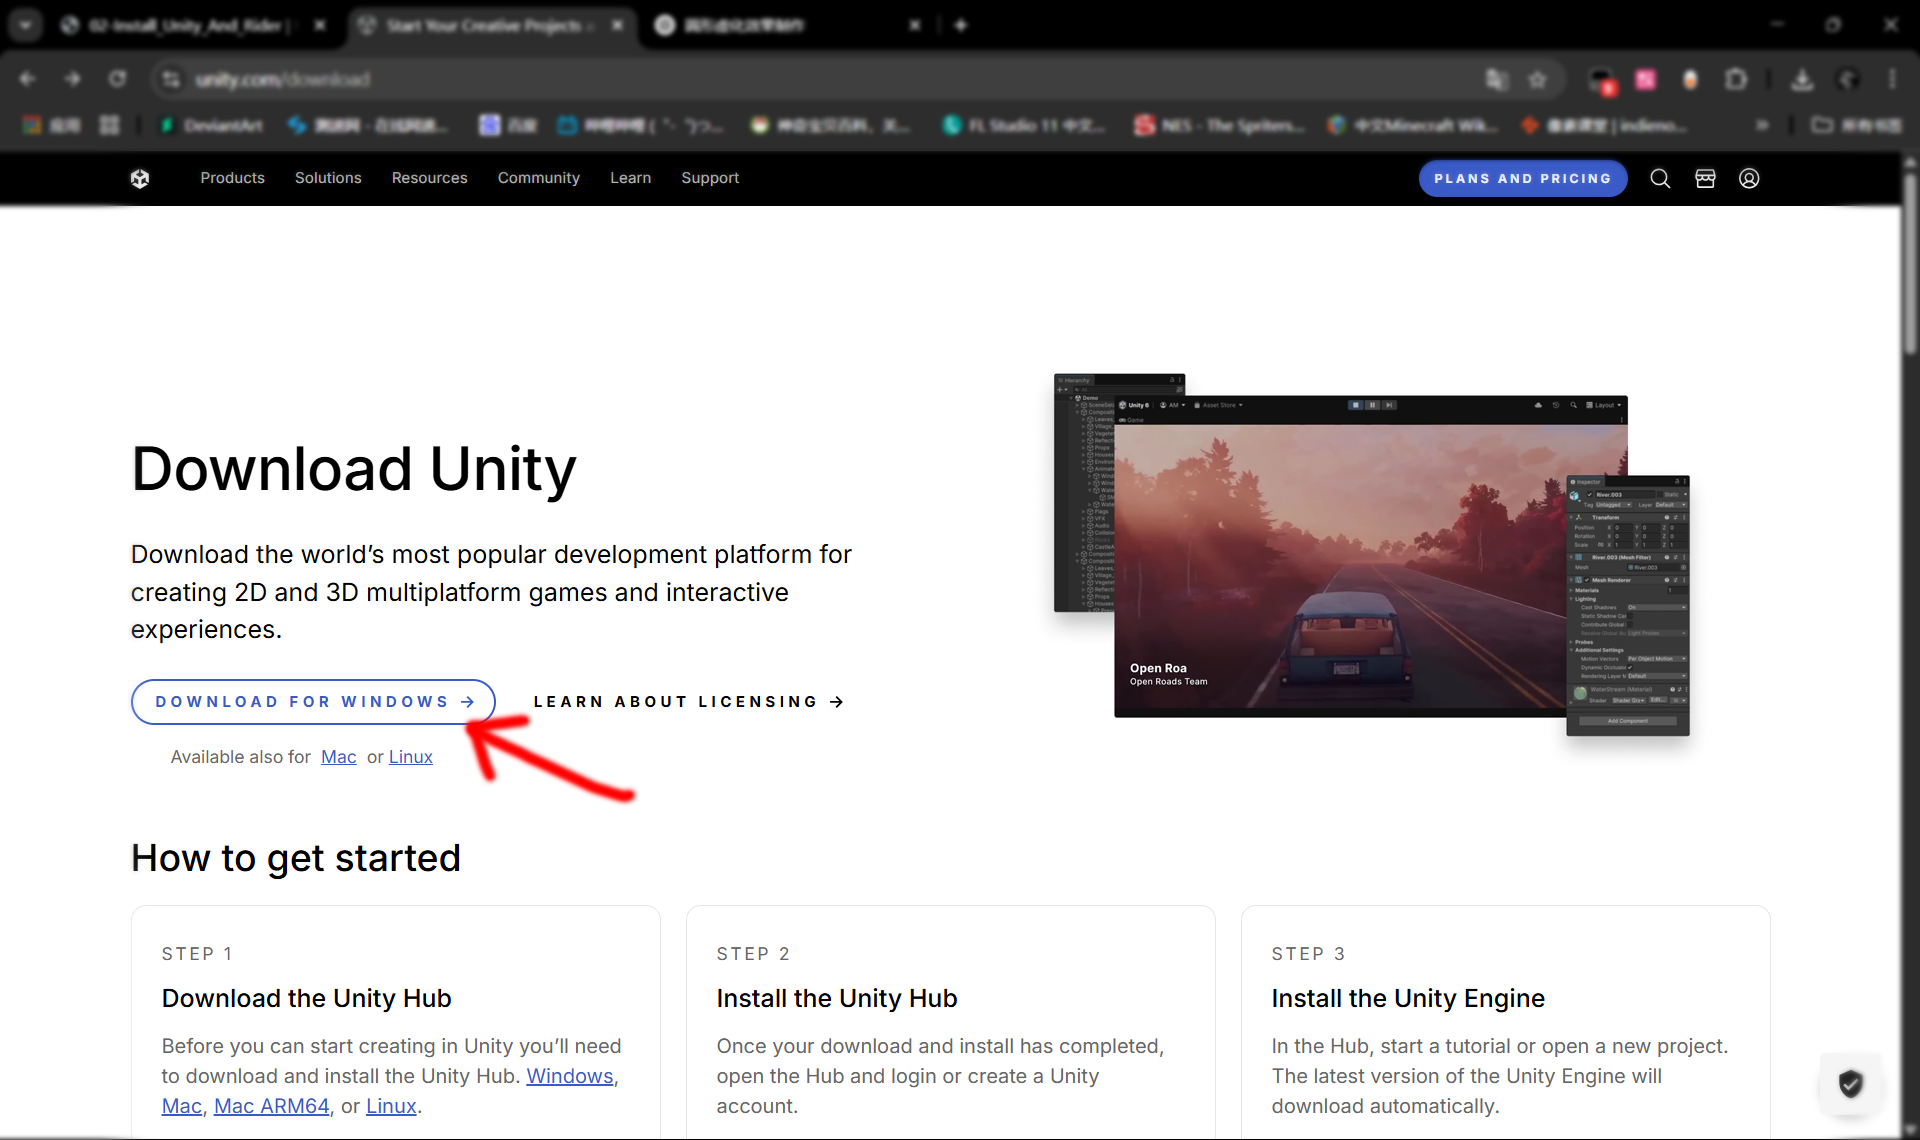
Wow, the “world’s most popular development platform” (big doubt) is within reach—just click the download button, and then!

We’ve got—Unity—Hub?
You might wonder—I know Unity, but—
- What is Unity Hub?
- How is the Unity Editor different from Unity itself?
- You might have also heard Unity referred to as the Unity Engine—wait, isn’t Unity a “game engine”?
Let’s briefly explain these concepts.
What Exactly is “Unity”?
Unity actually consists of three parts: Unity Hub, Unity Editor, and Unity Engine.
- Unity Hub is a launcher used to manage Unity Editor versions and projects. You can use it to install or uninstall different versions of the Unity Editor and manage your projects. To develop with Unity, the first thing you need to install is Unity Hub.
- Unity Editor is the editor software used for game development, providing a visual interface, scene editing, and other features.
- Unity Engine is the core part responsible for runtime game functionality, handling rendering, physics, animation, audio, and other systems. It’s not a standalone software but is embedded in the Unity Editor and operates in the built game.
🖊 In short:
- Unity Hub is the tool for downloading and managing different versions of the Unity Editor and launching the development environment.
- Unity Editor is where you edit game scenes.
- Unity Engine is the core behind the game’s runtime, handling rendering, physics, etc.
During development, we use Unity Hub to download and manage local versions of the Unity Editor and all local projects.
When you launch a project in Unity Hub, you’re actually opening the project with the Unity Editor.
After the game is built (exported), the Unity Editor isn’t included—only the runtime part of the Unity Engine is packaged to ensure the game runs properly.
❔ Still confused? Let me give an analogy...
Take Minecraft as an example:
- Unity Hub is like Minecraft’s launcher, responsible for downloading and launching different game versions.
- Unity Editor is like a “map editor” software for Minecraft, helping you design and edit the game world.
- Unity Engine is like Minecraft’s core runtime, making the game run, render, and interact.
Only by combining these three can your game truly run.
💡 So—
We’ll first install Unity Hub, then use it to install Unity Editor. That’s how Unity gets installed!
Installing Unity Hub
By now, you should have downloaded the Unity Hub installer—double-click it and install it!
Remember, you need to install the International Edition of Unity Hub!

The only thing to note during installation is to install it in a directory with only English characters. Other than that, it’s straightforward.
If you can’t figure this out, maybe it’s time to call it a day.
After installation, open Unity Hub, and you’ll see this interface.
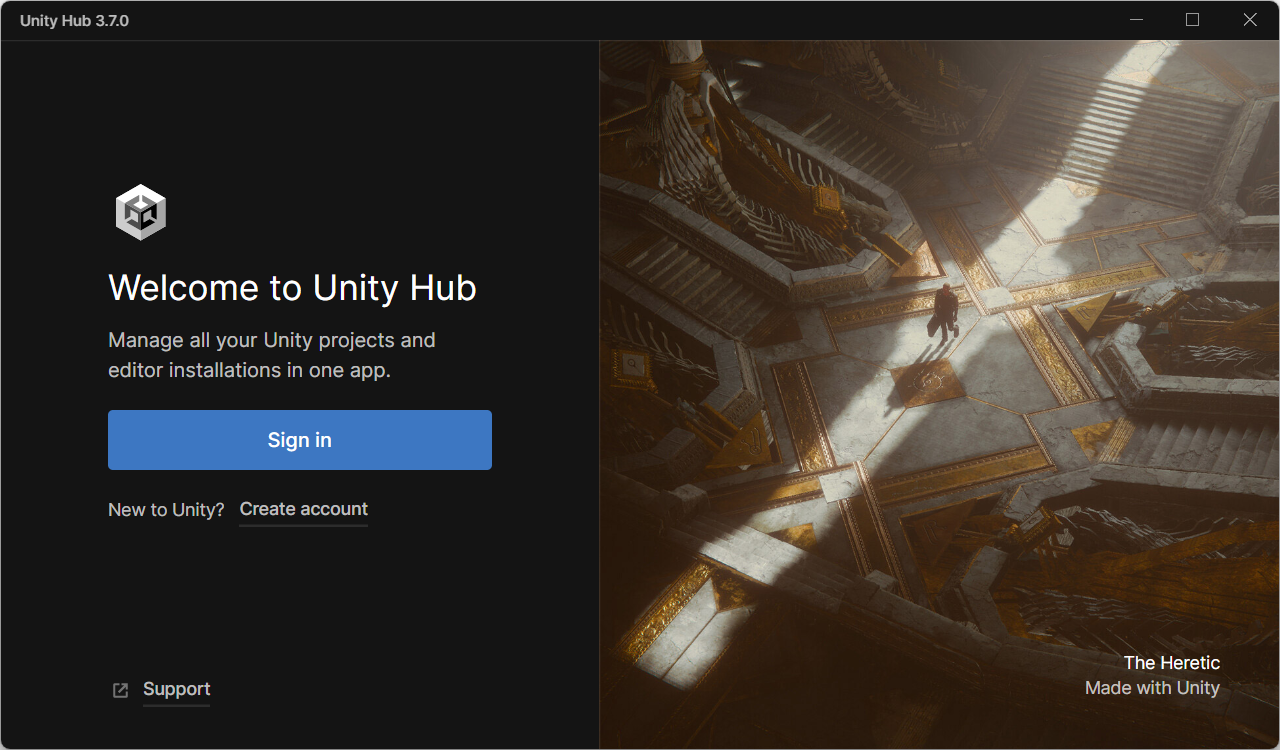
Yes. We need a Unity account to use Unity.
If you already have an account, click Sign in;
If not, Create account.
For account registration and login, handle it yourself—this tutorial won’t go into detail.
Unity International and China Edition accounts might be interchangeable—but I’m not sure, so proceed at your own discretion.Account versions shouldn’t cause major issues, right folks?
After that, we’ll see the Unity Hub homepage—like this.
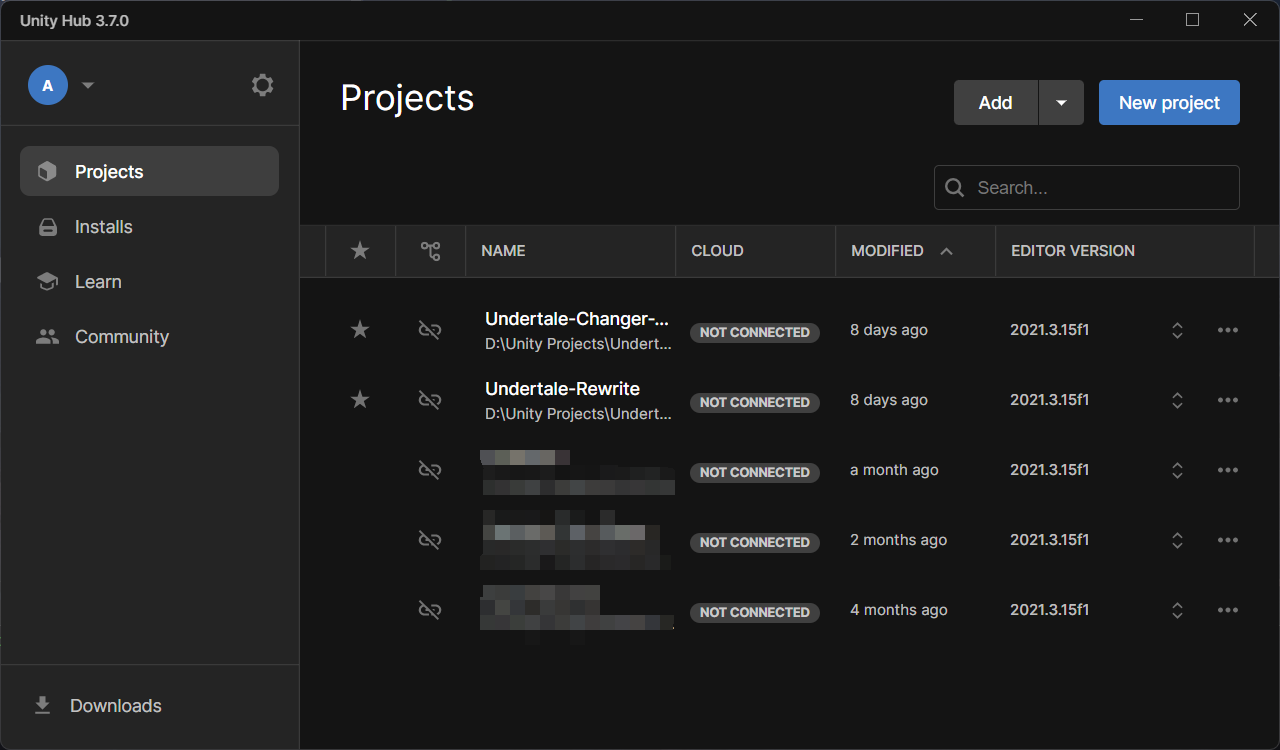
In Unity Hub, we mainly use three pages—
💡 The Three Musketeers
- Projects: Here, you open any Unity project.
- Installs: Here, you install Unity Editor.
- Preferences: Here, you request a license, modify installation paths and cache directories,
and change Unity Hub’s language.
Wait, you might ask, where’s the Preferences option—
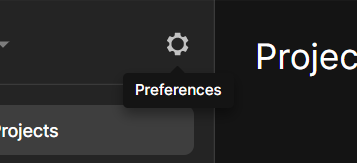
Here, the gear icon.
Let’s open it! Tweaking Preferences is essential—requesting a license, modifying installation paths and cache directories are all important.
Without a license, you can’t open projects; without changing installation paths, your Editor and projects will hog your system drive—right?
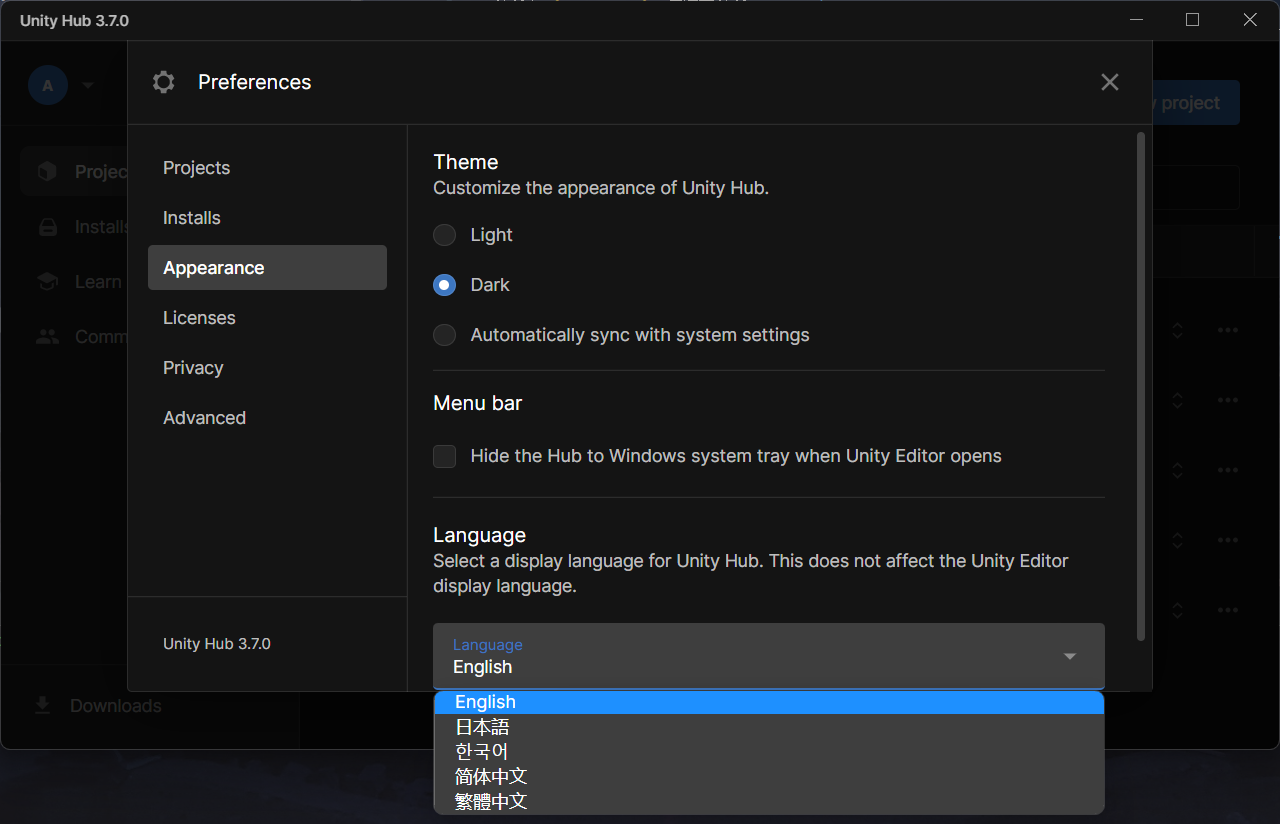
Here, change the language Unity Hub uses.
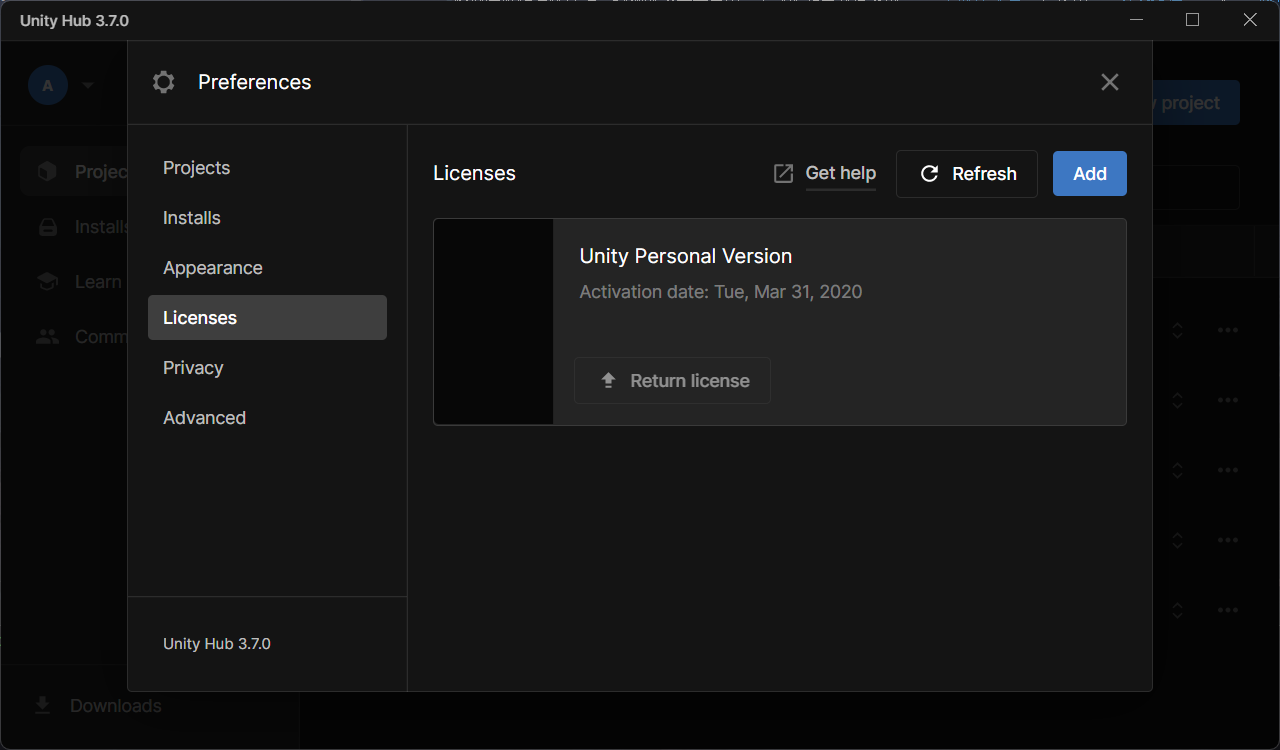
Here, set up your license. The free Personal license is more than enough.
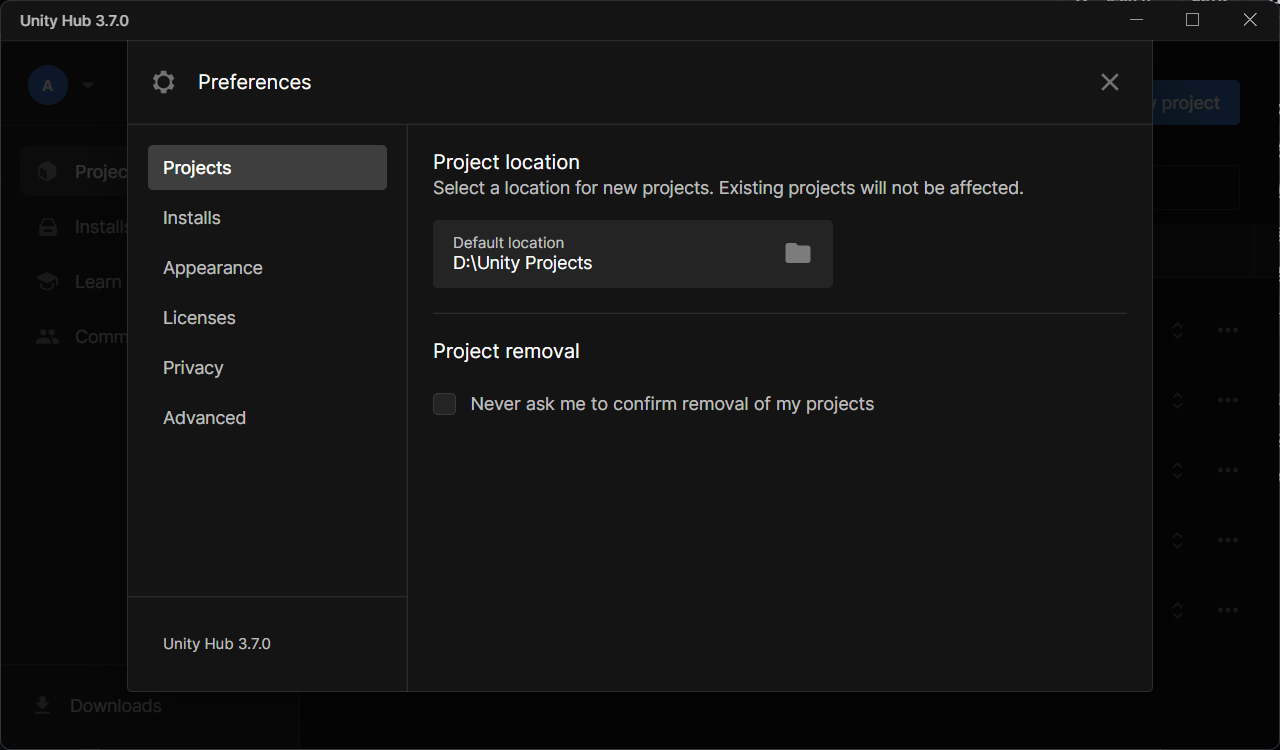
Here, set the location for new Unity projects. It’s best to change it to a non-system drive.
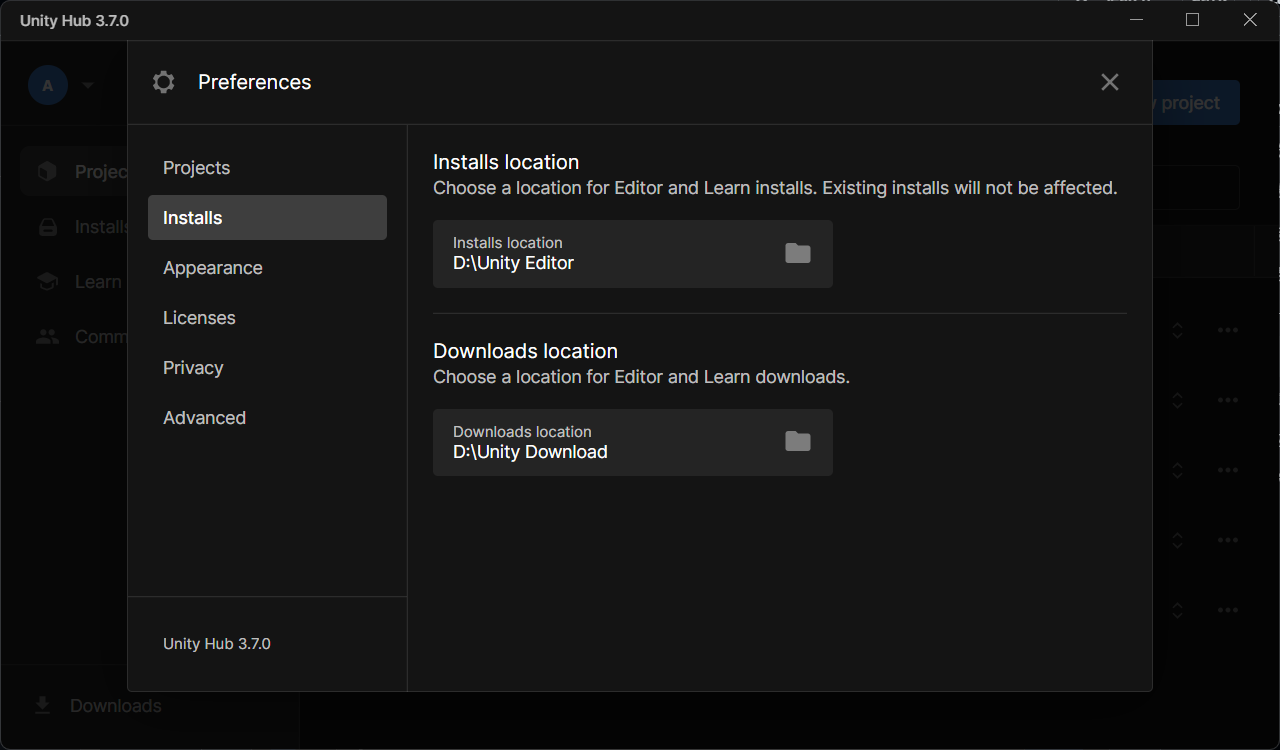
Here, set the Unity Editor installation path and some download file locations—also best to move them off the system drive.
Unity Hub setup is complete. Next—let’s install the Editor!
Installing Unity Editor
Click on Installs, which shows all locally installed Unity Editor versions—
Like this. I’ve already installed Unity Editor 2021.3.15f1!
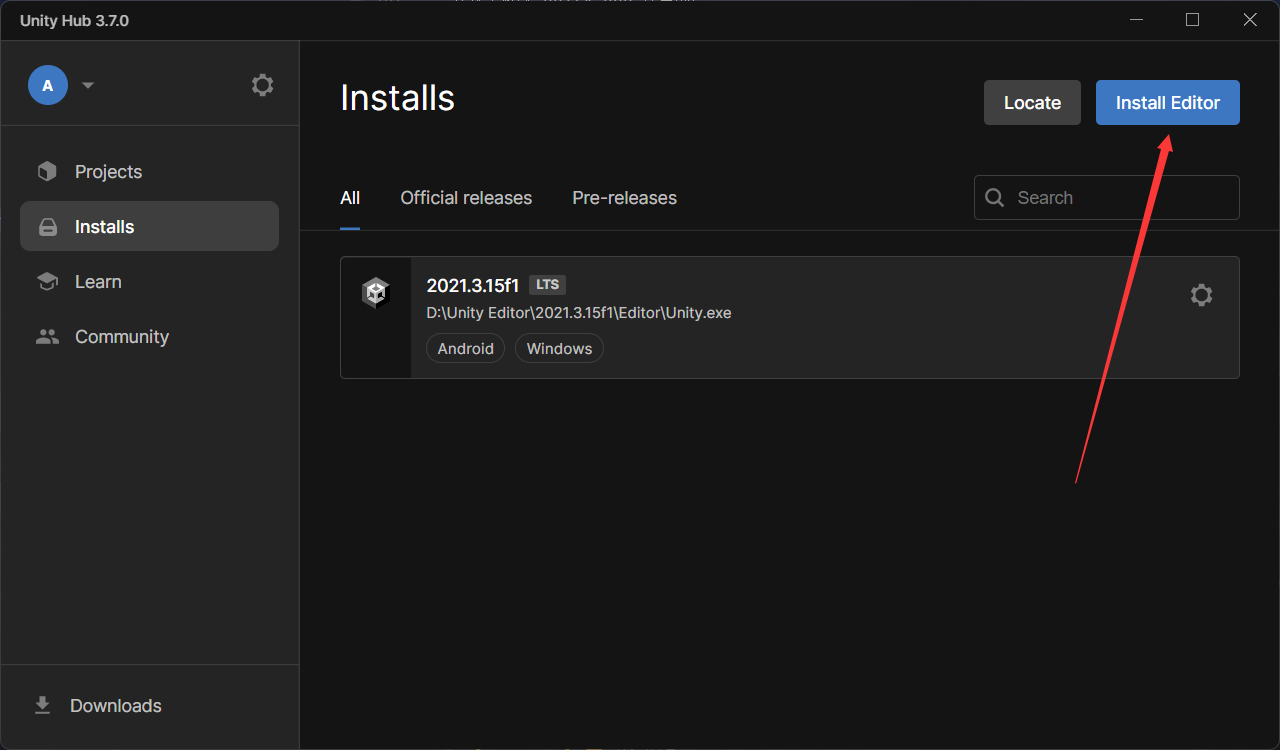
Oh, yours is probably empty. No worries—try clicking the “Install Editor” button.
Then the question arises—
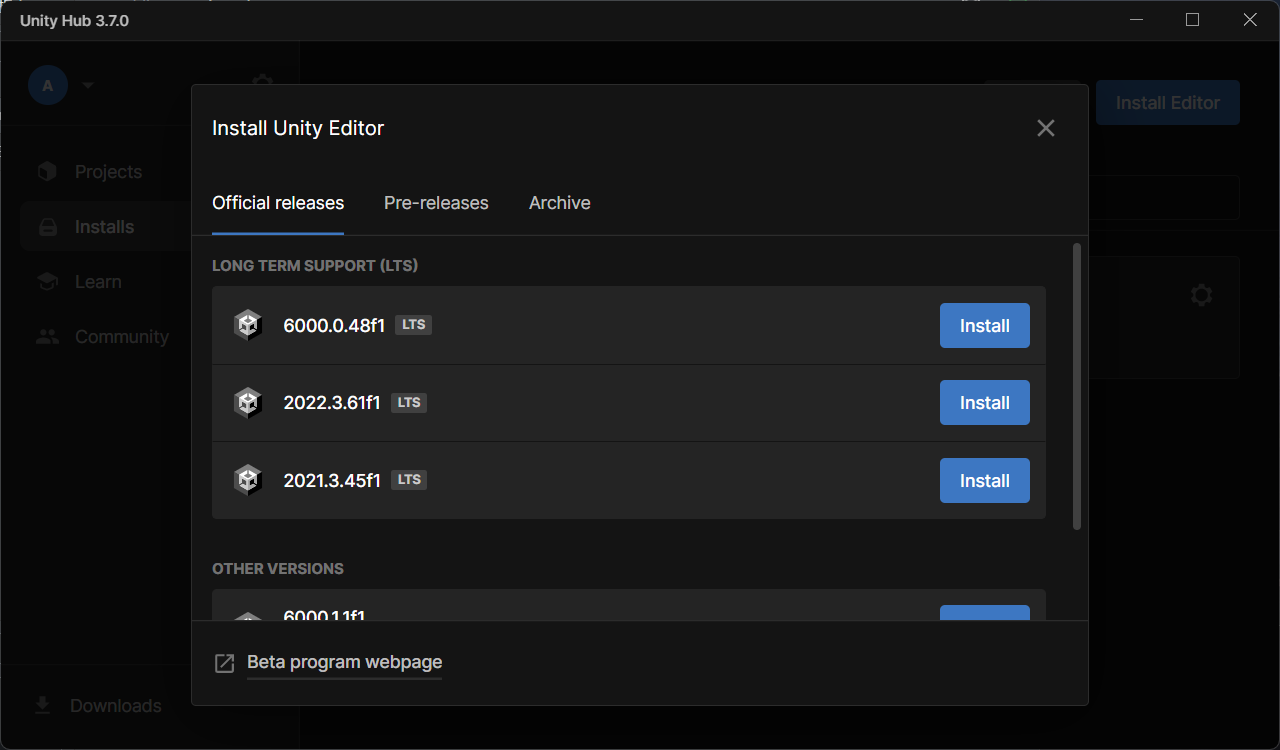
There are many versions here, but for 2021, there’s only this—2021.3.45f1...?
Note that this version is not 2021.3.15f1. Though the difference seems minor, it might cause issues—at least some group members have reported problems.
Changing to major versions like 2022, 2023, or even Unity 6? Absolutely not! Who knows what issues you’ll face—and I won’t adapt for them. I don’t see the need.
📍 Remember this
You must use Unity Editor 2021.3.15f1. Both the major and minor version numbers must match exactly.
So how do we download this version? It’s simple—just visit this link in your browser:
unityhub://2021.3.15f1/e8e88683f834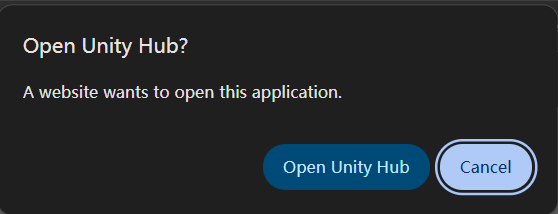
Then you’ll see a prompt like this, asking to open Unity Hub from the browser.
After opening Unity Hub, this window will appear—we’re almost done.
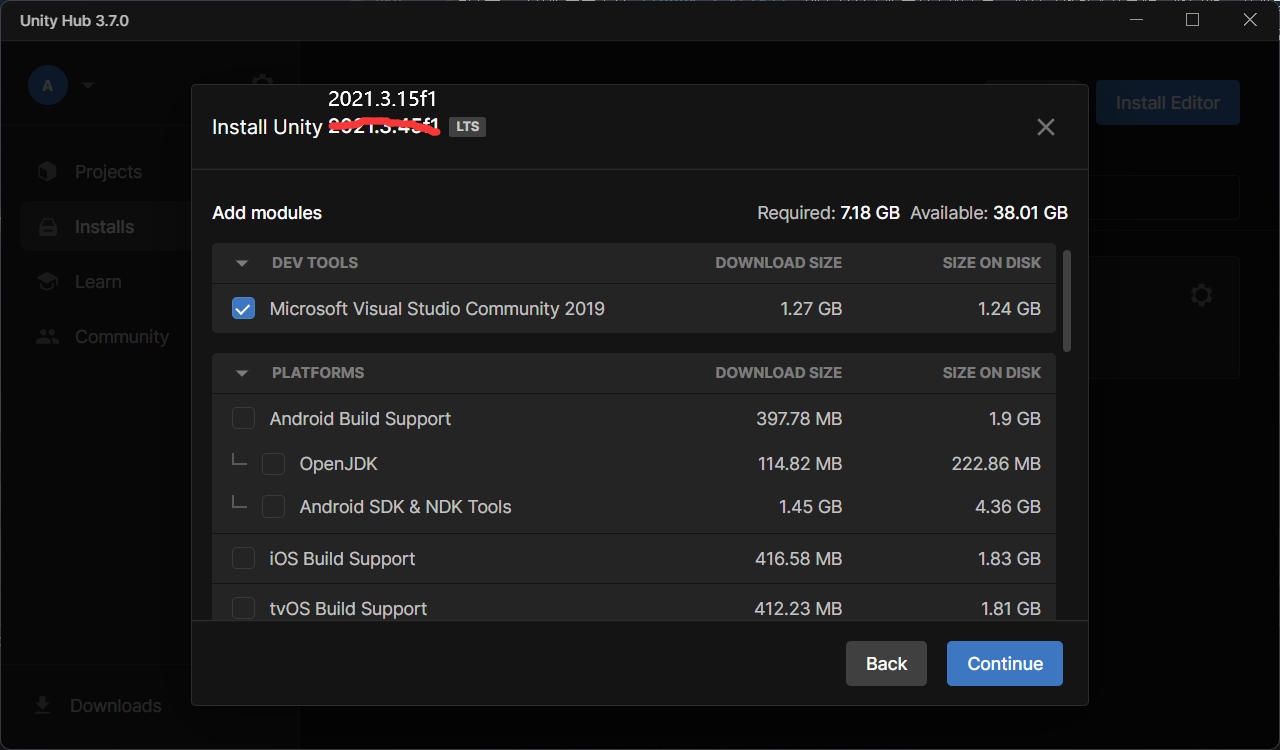
The top-left corner should say Install Unity 2021.3.15f1,but since I’ve already installed it, I’ll demonstrate with 2021.3.45f1 for the screenshot
There are some optional add-ons here. I’ll explain them one by one.
Editor Add-ons - Development Tools (IDE)

Under Development Tools, you’ll see Visual Studio 2019.
If you check this and install Unity Editor, Unity Hub will bundle-install VS2019.
VS2019 is one of the many IDE options—the thing you use to write code—mentioned later.
I emphasize: it’s one of the options. And it’s not my recommended IDE. I’ll explain why later.
So, if you want another IDE, don’t check this. You only need one IDE.
Editor Add-ons - Platforms
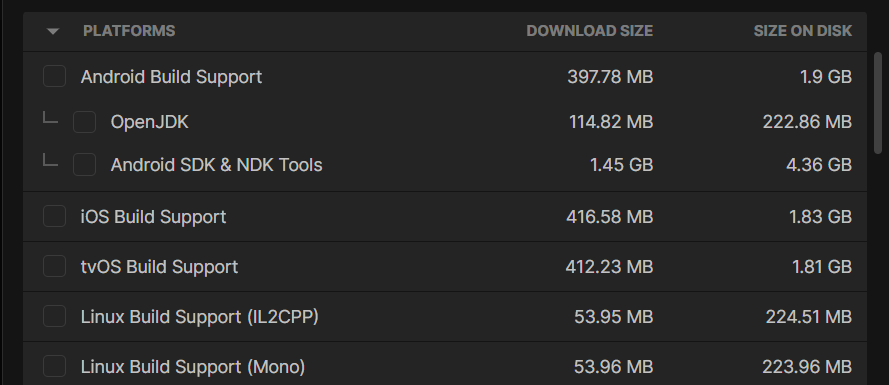
If you want to export your Unity project to Android, Mac, Linux..., you’ll need the corresponding platform add-ons.
Install them as needed—but note that UCT hasn’t been adapted for multiple platforms yet.
If you want to export your project to multiple platforms, it’s theoretically possible, but you’ll need to make your own adjustments.
I can’t help with that, but if anyone figures it out, feel free to share
💡 Oh, and
You don’t have to install any platform add-ons. Exporting to exe is the default and requires no add-ons.
If you want to install platform add-ons later, it’s easy—just select “Add Modules” in Unity Hub.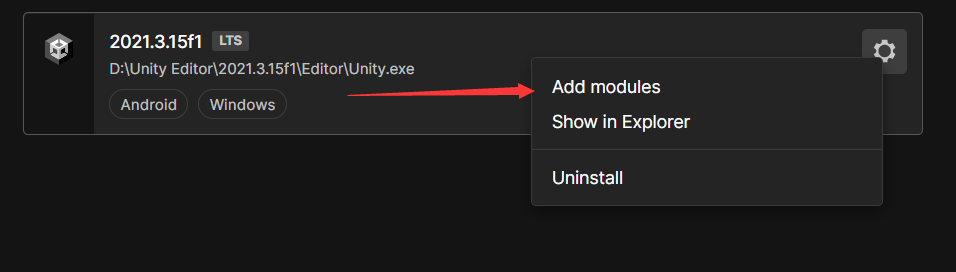
Like this.
Editor Add-ons - Language Packs
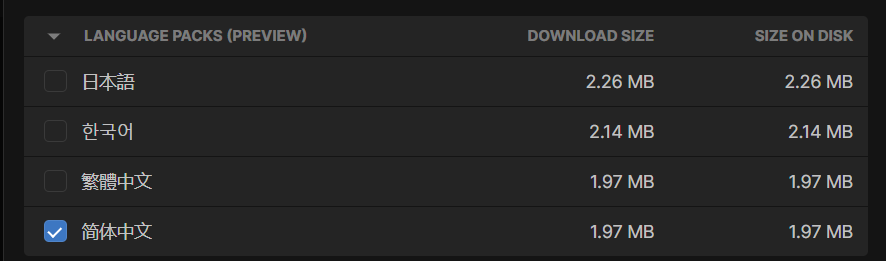
Installing language packs lets you change Unity Editor’s display language.
For non-native English speakers, this is useful, right?
Install as needed.
Editor Add-ons - Documentation

Checking this installs local Unity documentation.
...But I think online docs are enough—this thing takes up 700MB, which seems excessive.
Still, install it if you want.
Oh, you’re asking where the online docs are? Didn’t Chapter 1 mention it? (Unity Scripting API, Unity Manual)
After selecting your add-ons, you can proceed with the installation.
That’s it for Unity Editor—at least the installation part.
Downloading and installing Unity Editor takes a while...
Why not think about which IDE to use for coding in the meantime?
Choosing the Right IDE
Unity supports the following mainstream code editors. Choose based on your needs:
| Editor | Key Features |
|---|---|
| Visual Studio | Powerful, excellent debugging, one of the official recommendations. But slow to start and resource-heavy. |
| Visual Studio Code | Lightweight, flexible, cross-platform, rich plugin ecosystem. |
| Rider (Recommended) | Fast startup, strong code completion and refactoring, good Unity support, free for non-commercial use. |
All three work fine with Unity, but I’ve always used Rider and highly recommend it.
This tutorial is written and explained based on Rider. Later, I’ll also show you how to use the Rider project settings I’ve prepared.
If you plan to contribute to UCT development or submit code, it’s best to use Rider—
A unified development environment saves a lot of communication overhead.
How to Install Rider
There are two ways to install Rider.
Method 1: Direct download—visit the JetBrains Rider website and download the installer.
Method 2: Use JetBrains Toolbox—a tool for managing JetBrains IDEs and projects, similar to Unity Hub but for JetBrains' development tools.
If you're still unsure what Toolbox does, this image should give you an idea:
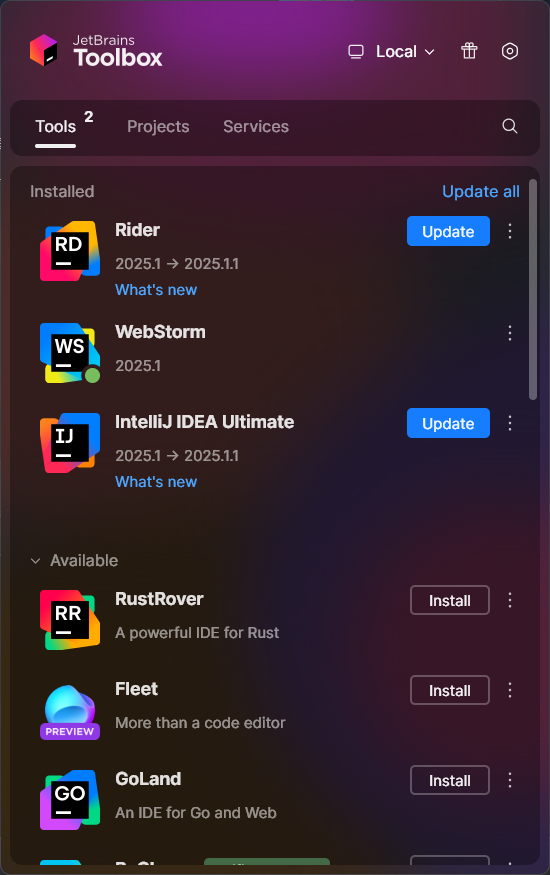
Choose either method to install Rider based on your preference.
Recommended Rider Plugins
It’s highly recommended to install all the following plugins—they’re incredibly useful.
Beyond these, feel free to customize Rider to your liking.
| Plugin Name | Description |
|---|---|
| .ignore | Manages .gitignore files, improving version control efficiency. |
| CodeGlance Pro | Displays a code mini-map on the editor’s right side for quick navigation. |
| Heap Allocations Viewer | Tracks heap allocations in C# code, aiding performance optimization. |
| Key Promoter X | Suggests keyboard shortcuts when using menu actions, helping you learn shortcuts faster. |
| SonarQube for IDE | Integrates SonarQube for static code analysis and quality reports. |
Importing Project Settings
The UCT project follows Rider’s recommended coding style and SonarQube’s suggestions but may differ in minor details.
For example, I prefer always using braces for if, for, and other control structures.
To apply UCT’s settings, go to File → Manage IDE Settings → Import Settings in Rider and load the settings.zip file from UCT’s root directory.
This will be covered in detail in the next tutorial.
Conclusion
At this point, Unity and the IDE installation are complete! We’re halfway prepared. (Probably.)
In the next chapter, we’ll cover downloading the UCT project, linking Unity Editor with Rider (or another IDE),
and setting up Git for version control. This will help track changes, revert mistakes, and even enable collaborative development.
See you soon!